August 5, 2020 | Cristina Dinulescu
Rewiring a house is always a sore subject for homeowners, as most people immediately think of the expenses incurred or the mess and complexity the project involves. However, improper wiring can prove to be more expensive and cause more damage, as it leads not only to electrical shorts, but also electrical fires.
A wire that causes a spark or a current overload can sometimes lead to a house fire and burn the entire property down. It’s one of the main reasons, but not the only one, why house rewiring is so important. As most homeowners are concerned with the disruptiveness of the process, a question electricians get a lot is “can a house be rewired without removing drywall?”.
The answer is usually yes, and even a whole house rewiring can in some cases be done with minimum disruption. If you want to know more details about the process, a good electrician should be able to walk you through how to rewire a house without removing drywall. Here are the 4 usual stages and what to expect with each of them.
1. Plan & Prepare Stage

Like with any other house remodeling or upgrade project, the better you plan and prepare the rewiring, the smoother the process will be. A detailed plan will help you locate and project the circuits in a way that allows you to keep the drywall on.
It’s always best to ask the advice of a professional and certified electrician even at this stage, to make your plan is in fact feasible and the best course of action. Usually, the planning and preparing stage includes:
- a detailed plan of the old circuitry – this is the old wiring, which needs replacing, and a detailed drawing of where everything is might help minimize disruption
- a detailed plan of the new circuitry – the new wiring may, in some cases, follow a different plan if the old one is not optimal or if there are new needs to be accommodated
- wiring calculations – the new plan will help your electrician calculate the amount of wires and cables needed, as well as what are the best and most expedients routes for the new circuit
2. Prep Work Stage
Since the drywall will not be removed for the wiring to be installed, the new wires will have to be run through the crawl space, or in some cases the attic. This means you need to make room for them to slide through.
This stage helps not only make room for the new wiring, but also mark down a clear path for what needs to be removed and for feeding the new wiring to the outlets. You should be able to locate the crawl space where the electrician will perform most of the work.
If you decide to do the prep work yourself, you should also consider removing the clutter near the electrical outlets in your home. It’s wise to make sure the electricians will have easy access to install the electrical wiring. While they might be able to help with the heavier furniture and items, the small miscellaneous stuff should be handled prior to their arrival.
3. Removal Stage

The removal stage is true to its name and refers to pulling out and discarding the old wiring. It’s not as easy as it sounds for two main reasons:
- You can’t just pull the wires out of the wall – they’re generally stapled;
- You can’t discard old wiring in your trash – it needs to be recycled.
Old wiring is oftentimes stapled to the framing, which means you can’t just pull the cables out of the wall. After making sure the power is out, the electrician may cut the cable and remove that part that’s exposed, leaving the buried cable inside the wall. If you don’t mind patching the drywall, these cables can be pulled from inside the room, but otherwise it will have to be done in the crawl space.
Some cables are positioned in easier locations and can be more conveniently pulled out. The electrician can tape the new cable to the old one, then pull the old wiring out and allow the new cable to fall into its space and take its place.
4. New Wiring Stage

Rewiring a house is not as simple as taping two cables together and letting one take the place of the other. When this isn’t the case, the process of putting in the new wiring can be quite elaborate. Even before running the new wire, the electrician will have to pre-cut an opening for each box of the circuit’s electrical devices.
Next, a 3/4-inch hole will be drilled in the top plate of the wall, directly on top of each opening, or in the bottom plate, under the openings. This is usually a two-man job, as it helps to have another person catch the wire that’s being fed through the crawl space.
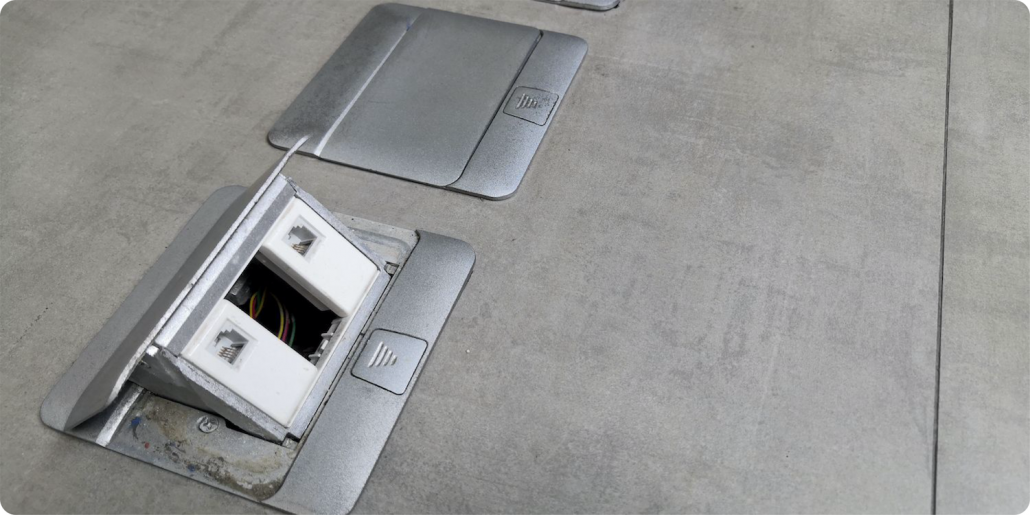
If the calculations from Stage 1 were done correctly, then the wire should feed down straight to the opening in the wall, and the process continues room by room until all wiring is sent down to the correct outlet.
Tips For Rewiring a House Without Removing the Drywall
Although it may not be difficult to learn more about how to rewire a house without removing drywall, to do it can sometimes be intricate. There are extra precautions that electricians take on such projects, especially when it comes to the new cables being clamped down and extra tight. This is because they’re not pulling down the drywall, so they’re not able to staple cables to the studs behind the walls, which is the regular technique.
One solution is securing the cable to joists or rafters using wire staples. The electrician needs to make sure that each wire is perfectly anchored to the appropriate device electrical box using the correct clamp.
Using junction boxes to keep wires organized is another great tip for when rewiring. It will come in handy later on as well, if you want to make any additions. These can be placed above each room.
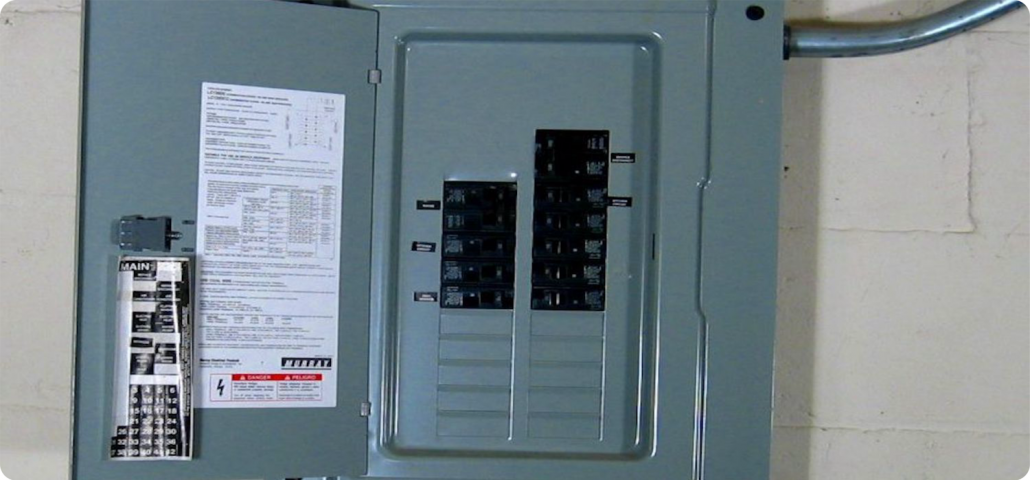
It’s very important that the rewiring is done properly and by qualified and experienced professionals. If the electrical wiring is not installed correctly, the wires can get nicked and cause short circuits. Moreover, if the connection to the panel and in junction boxes isn’t done properly, then it can cause EMF, which might have unwanted effects on your health.


 By Todd Penna